 ,
, .
.You can customize any grid in Accounts Payable. For this example, we will work in the Transaction Analysis Grid.
To
remove a column, click  ,
, .
.
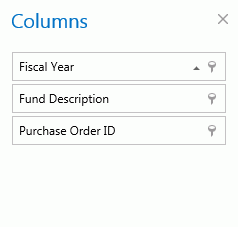
The Columns Form will appear.

Then, left-click your mouse, hold down the mouse and then drag the Column Header into the Column Form. Then, release the mouse.
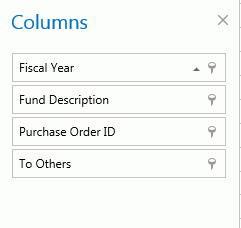
The removed Column Header will now appear in the Columns Form.

You can remove as many columns as necessary.
To add a column to the grid, left-click on that Column Header in the Column Form and then drag the Column Header to where you want if to display in the grid. Then, release the mouse.
To move a column to a different location within the grid, left-click in that Column Header, hold down the mouse, move the column to the location you want, and then release the mouse.

Now the Vendor No Column displays after the Vendor Name.

To re-size a column, hover the mouse over the Column line you want to increase or decrease.

The re-sizing cursor will appear. Left-click your mouse, hold down the mouse and drag the Column Header to the desired size.

Then, release your mouse.
For this next example, we are in the Certifications Tab. We have removed and moved columns and then sorted the Certification Date.

After you have customized a grid to your specifications, you can save the layout in order to recall the grid at a later time.
Note: If you do not save the layout you just designed, the system will reset the grid to the default layout. If you do not want to save the layout, but want to make it the default layout, click Options, Layouts, Set as Default.
Click  ,
,
 ,
,
 .
.
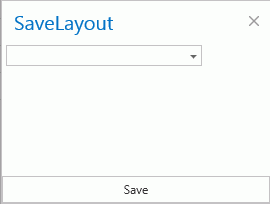
The Save Layout Form will appear:

Enter a Name for the Layout and click the Save Button.
To reset the grid at anytime,
click  ,
,
 ,
,
 .
.
You can also load a saved grid.
To load the grid, click
 ,
,

 .
.
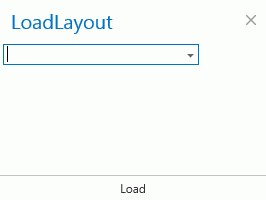
The Load Layout Form will appear.

Use the Drop Down List Box to enter the name of the Layout you want to view.
Click the Load Button.
To export a grid, click
 ,
,
 ,
,
 .
.
Then choose the format to which you want to export the grid. From there, you can print or save the grid.